Foundation | Visualisation | Post-Production | Project Timelines and Workflow Variations | Project Reference
Long before construction begins on-site, a great amount of work goes into preparing a project. Among the key elements of this preparation are architectural visualisations, which play an essential role during the planning stages and later help property developers and estate agents market units off-plan as construction progresses.
3D visualisation serves as a technical tool that supports understanding, builds confidence, and informs decision-making throughout a project’s lifecycle.
In this article, we take a closer look at the stages involved in creating an architectural visualisation. While each type of visual, whether a verified view montage, architectural CGI, aerial montage, or presentation montage, follows its own workflow, they all share similar processes, which we will explore below.
Foundation: The Analytical 3D Model
The process begins with gathering comprehensive architectural, landscaping, and interior design information from the client. These documents provide the basis for our team to develop an accurate digital 3D model of the project.
This modelling work is carried out in Autodesk Revit, where the focus is on geometry, scale, and alignment with the architectural drawings. Collaboration is essential at this stage, as our team works closely with architects and the wider design team to ensure the model accurately reflects the design plans.
Depending on the project, this phase may also include the incorporation of finer details such as gutters, downpipes, and roof seams to elevate the overall quality and realism of the model.
An analytical 3D model forms the foundation of every visualisation project. A key differentiator for 3D Design Bureau is that our expert in-house team produces these models to the highest standard, allowing them to serve multiple purposes beyond visualisation, as in our daylight and sunlight assessments, for example.
Moving into Visualisation
Once the analytical model is complete, the project transitions into the visualisation stage. At this point, our visualisation team migrates the digital Revit model into Autodesk 3ds Max, where the initial asset population of both exterior and interior spaces (depending on the project requirements) begins. This includes the setup of lighting and texturing.
For the exterior elements, additional details such as roof tiles, boundary features, and various environmental objects are incorporated to enhance the architectural authenticity of the images. Using specialist plugins like iToo, our team populates and enriches the exterior landscaping, a key component in achieving a realistic and balanced visual composition.
For projects requiring interior renders, our team models furniture and fittings based on client-provided references and material specifications. When specific components (like a specific chair, for example) are required, we use data from the manufacturer’s technical documentation to ensure precision. Dimensional accuracy is essential at this stage, allowing each 3D-modelled object to replicate its real-world counterpart as closely as possible.
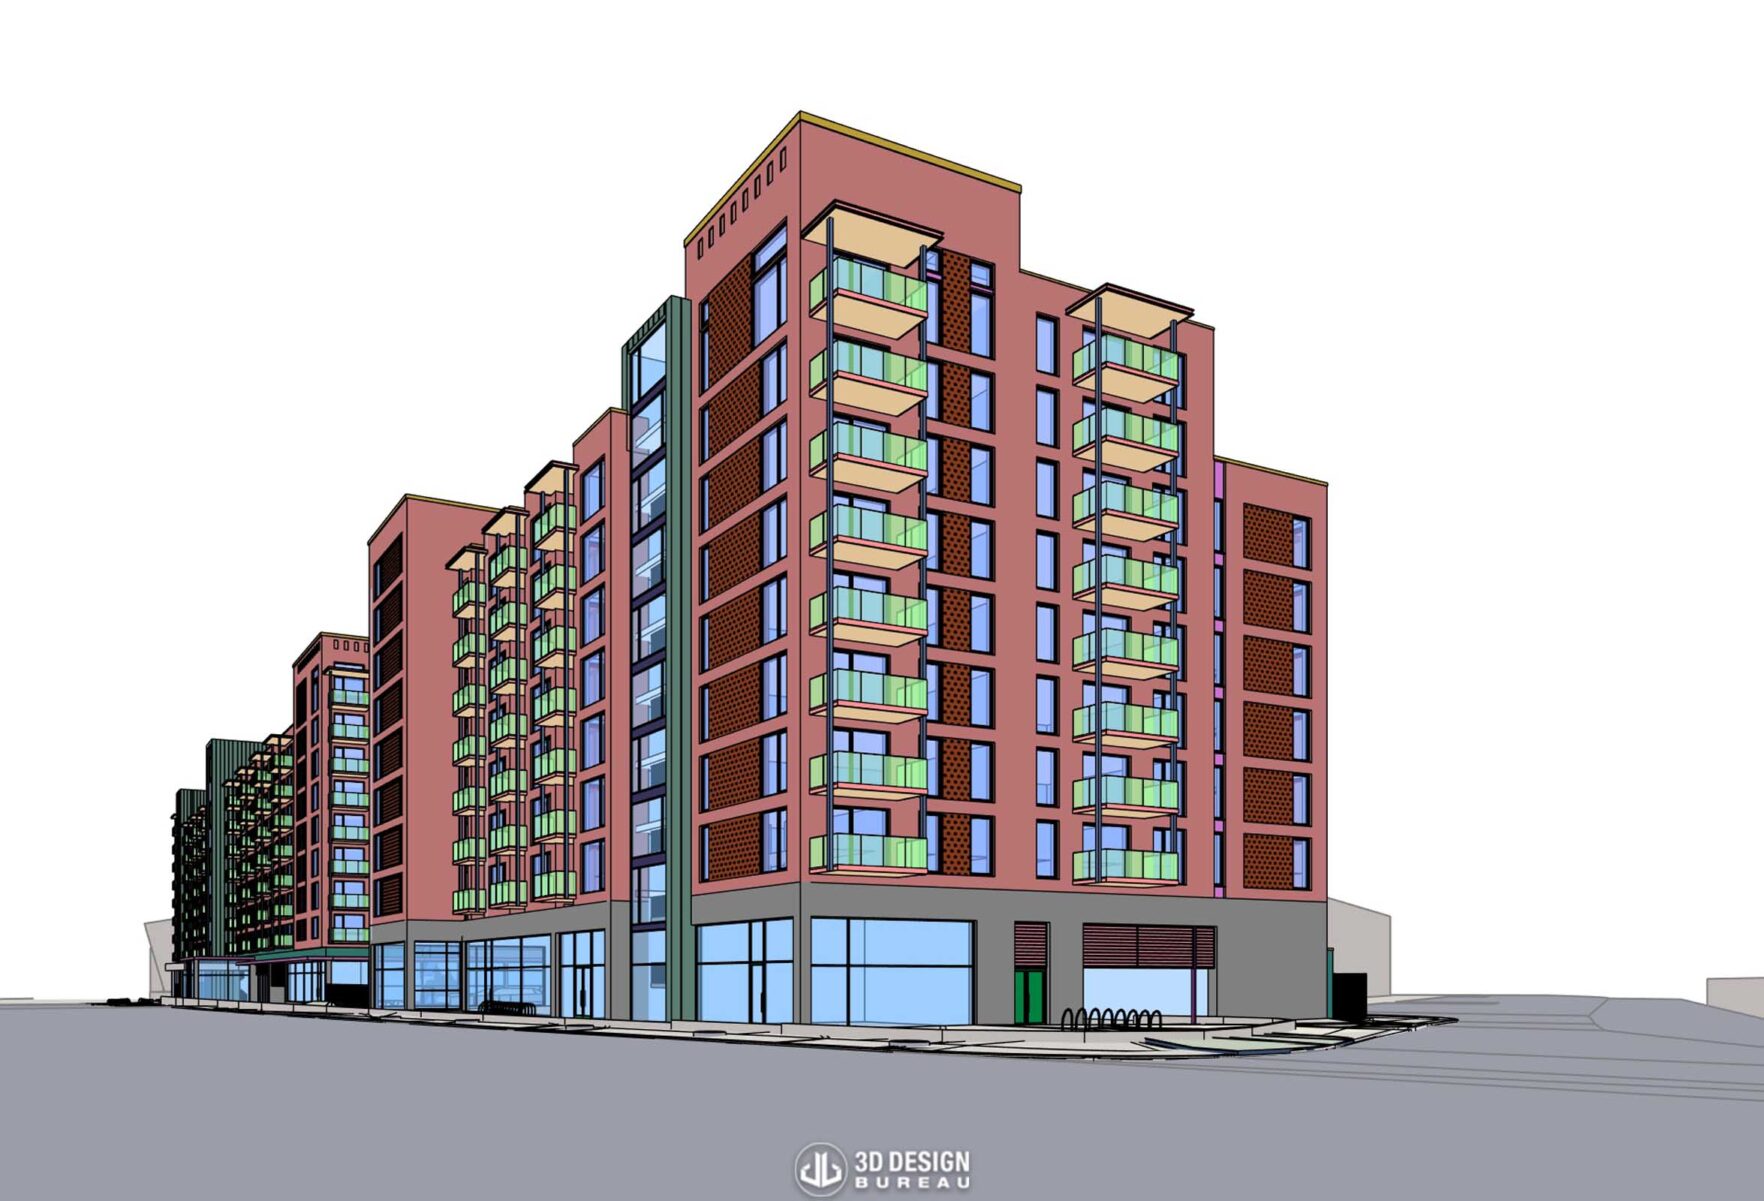
Camera positions and viewpoints are then selected in collaboration with the design team to ensure each image addresses the project’s key goals, whether for planning, design development, or marketing purposes. Structural drafts are rendered and reviewed internally, incorporating feedback from both the client and our post-production team, who will later compile and refine all CGI material.
💡 Note: Structural drafts are preliminary versions of a visual without any material textures or colours applied. They provide clients with a clear overview of project progress and allow our team to receive and implement feedback efficiently before moving to the next visualisation stage.
Post-Production: Final Touches
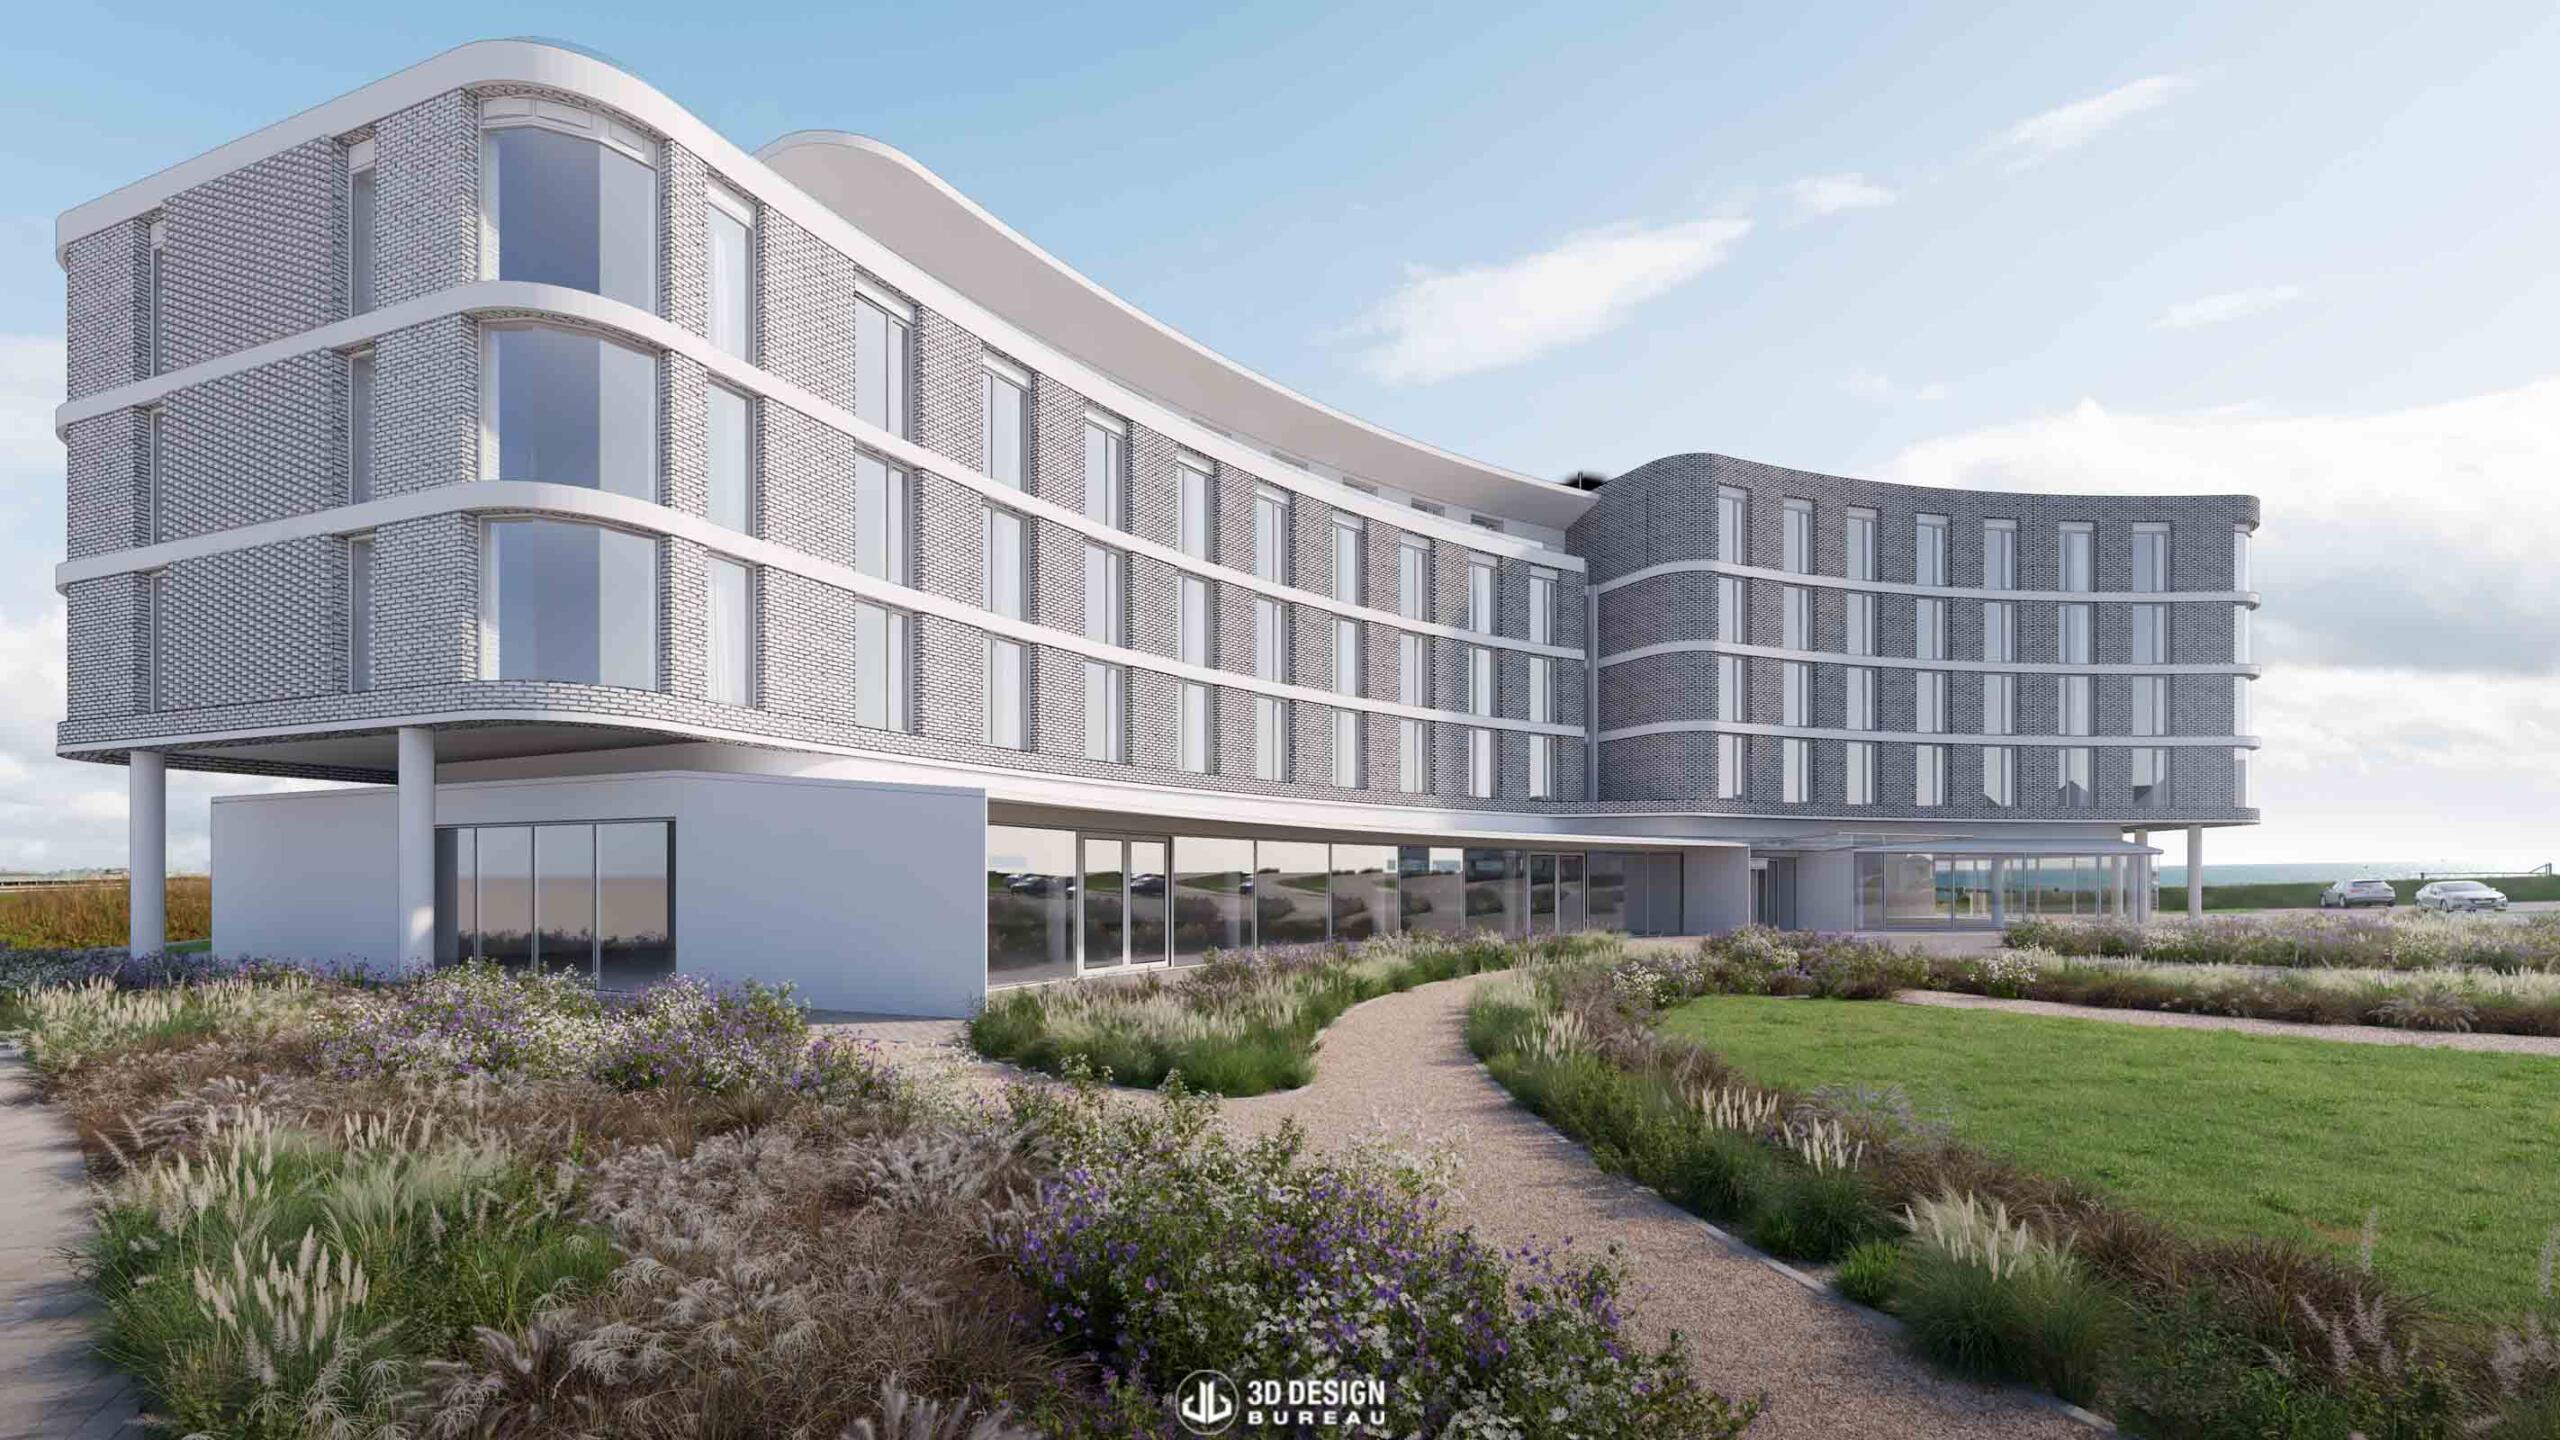
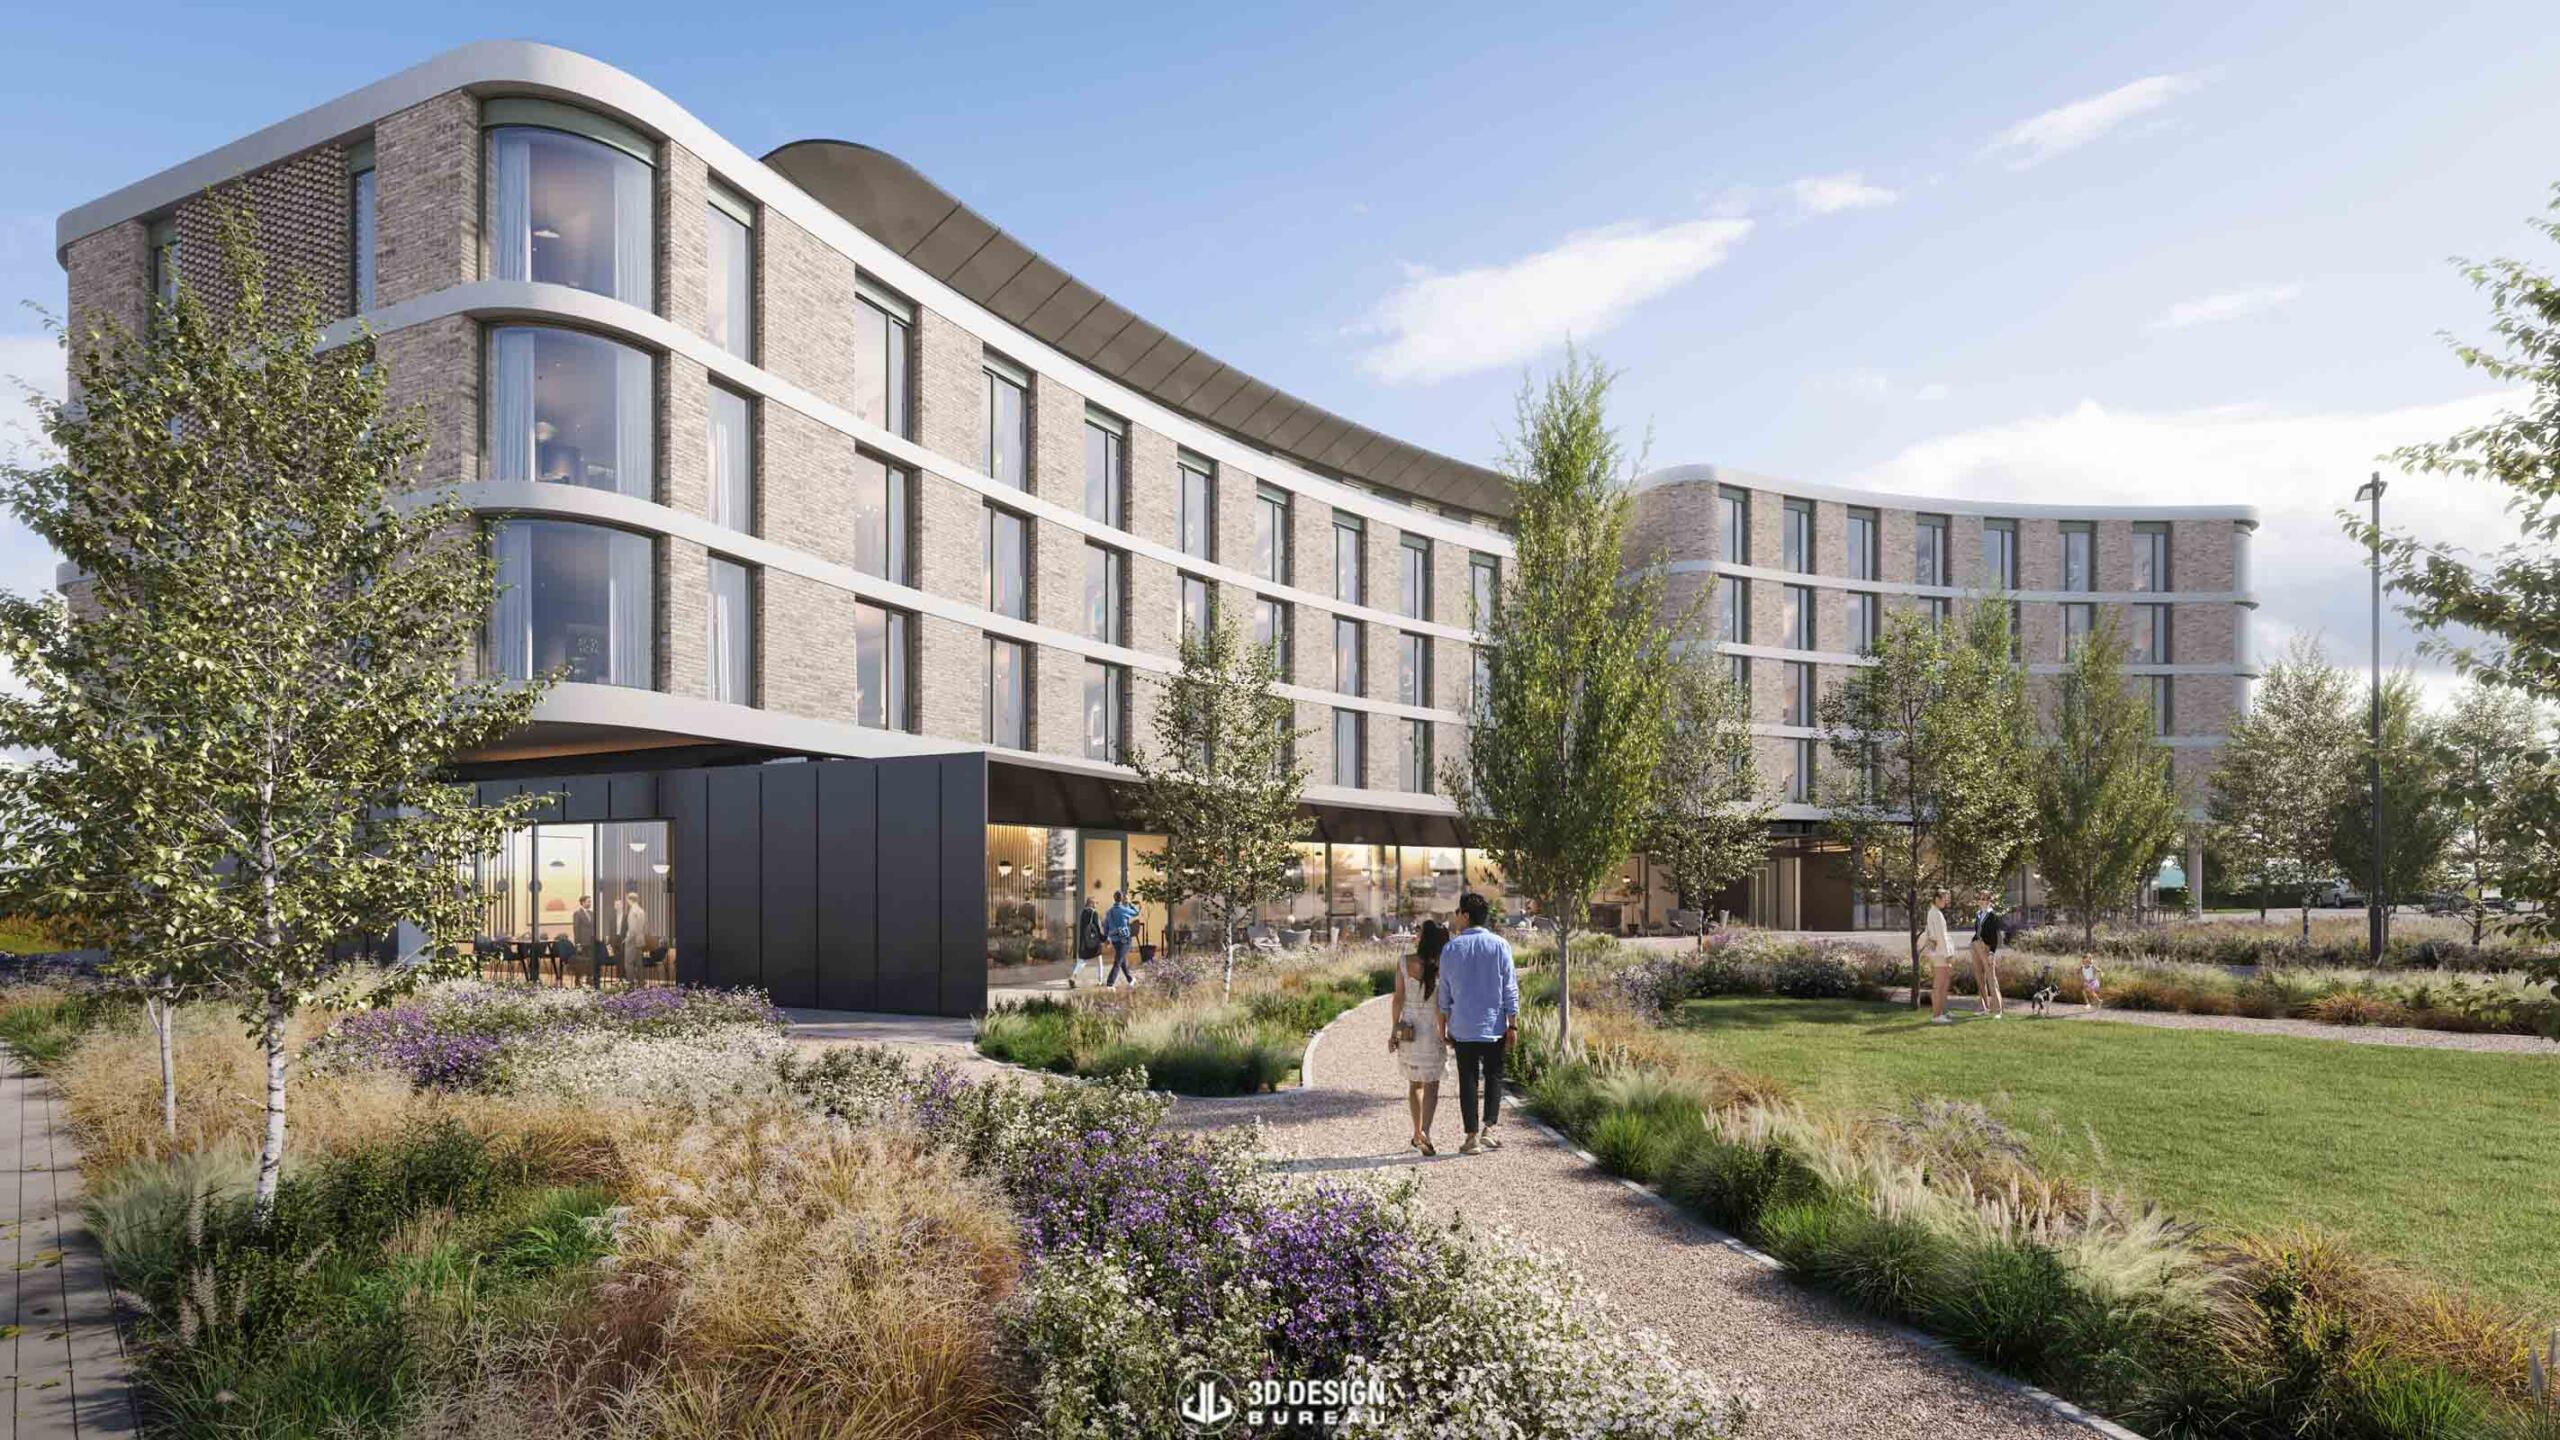
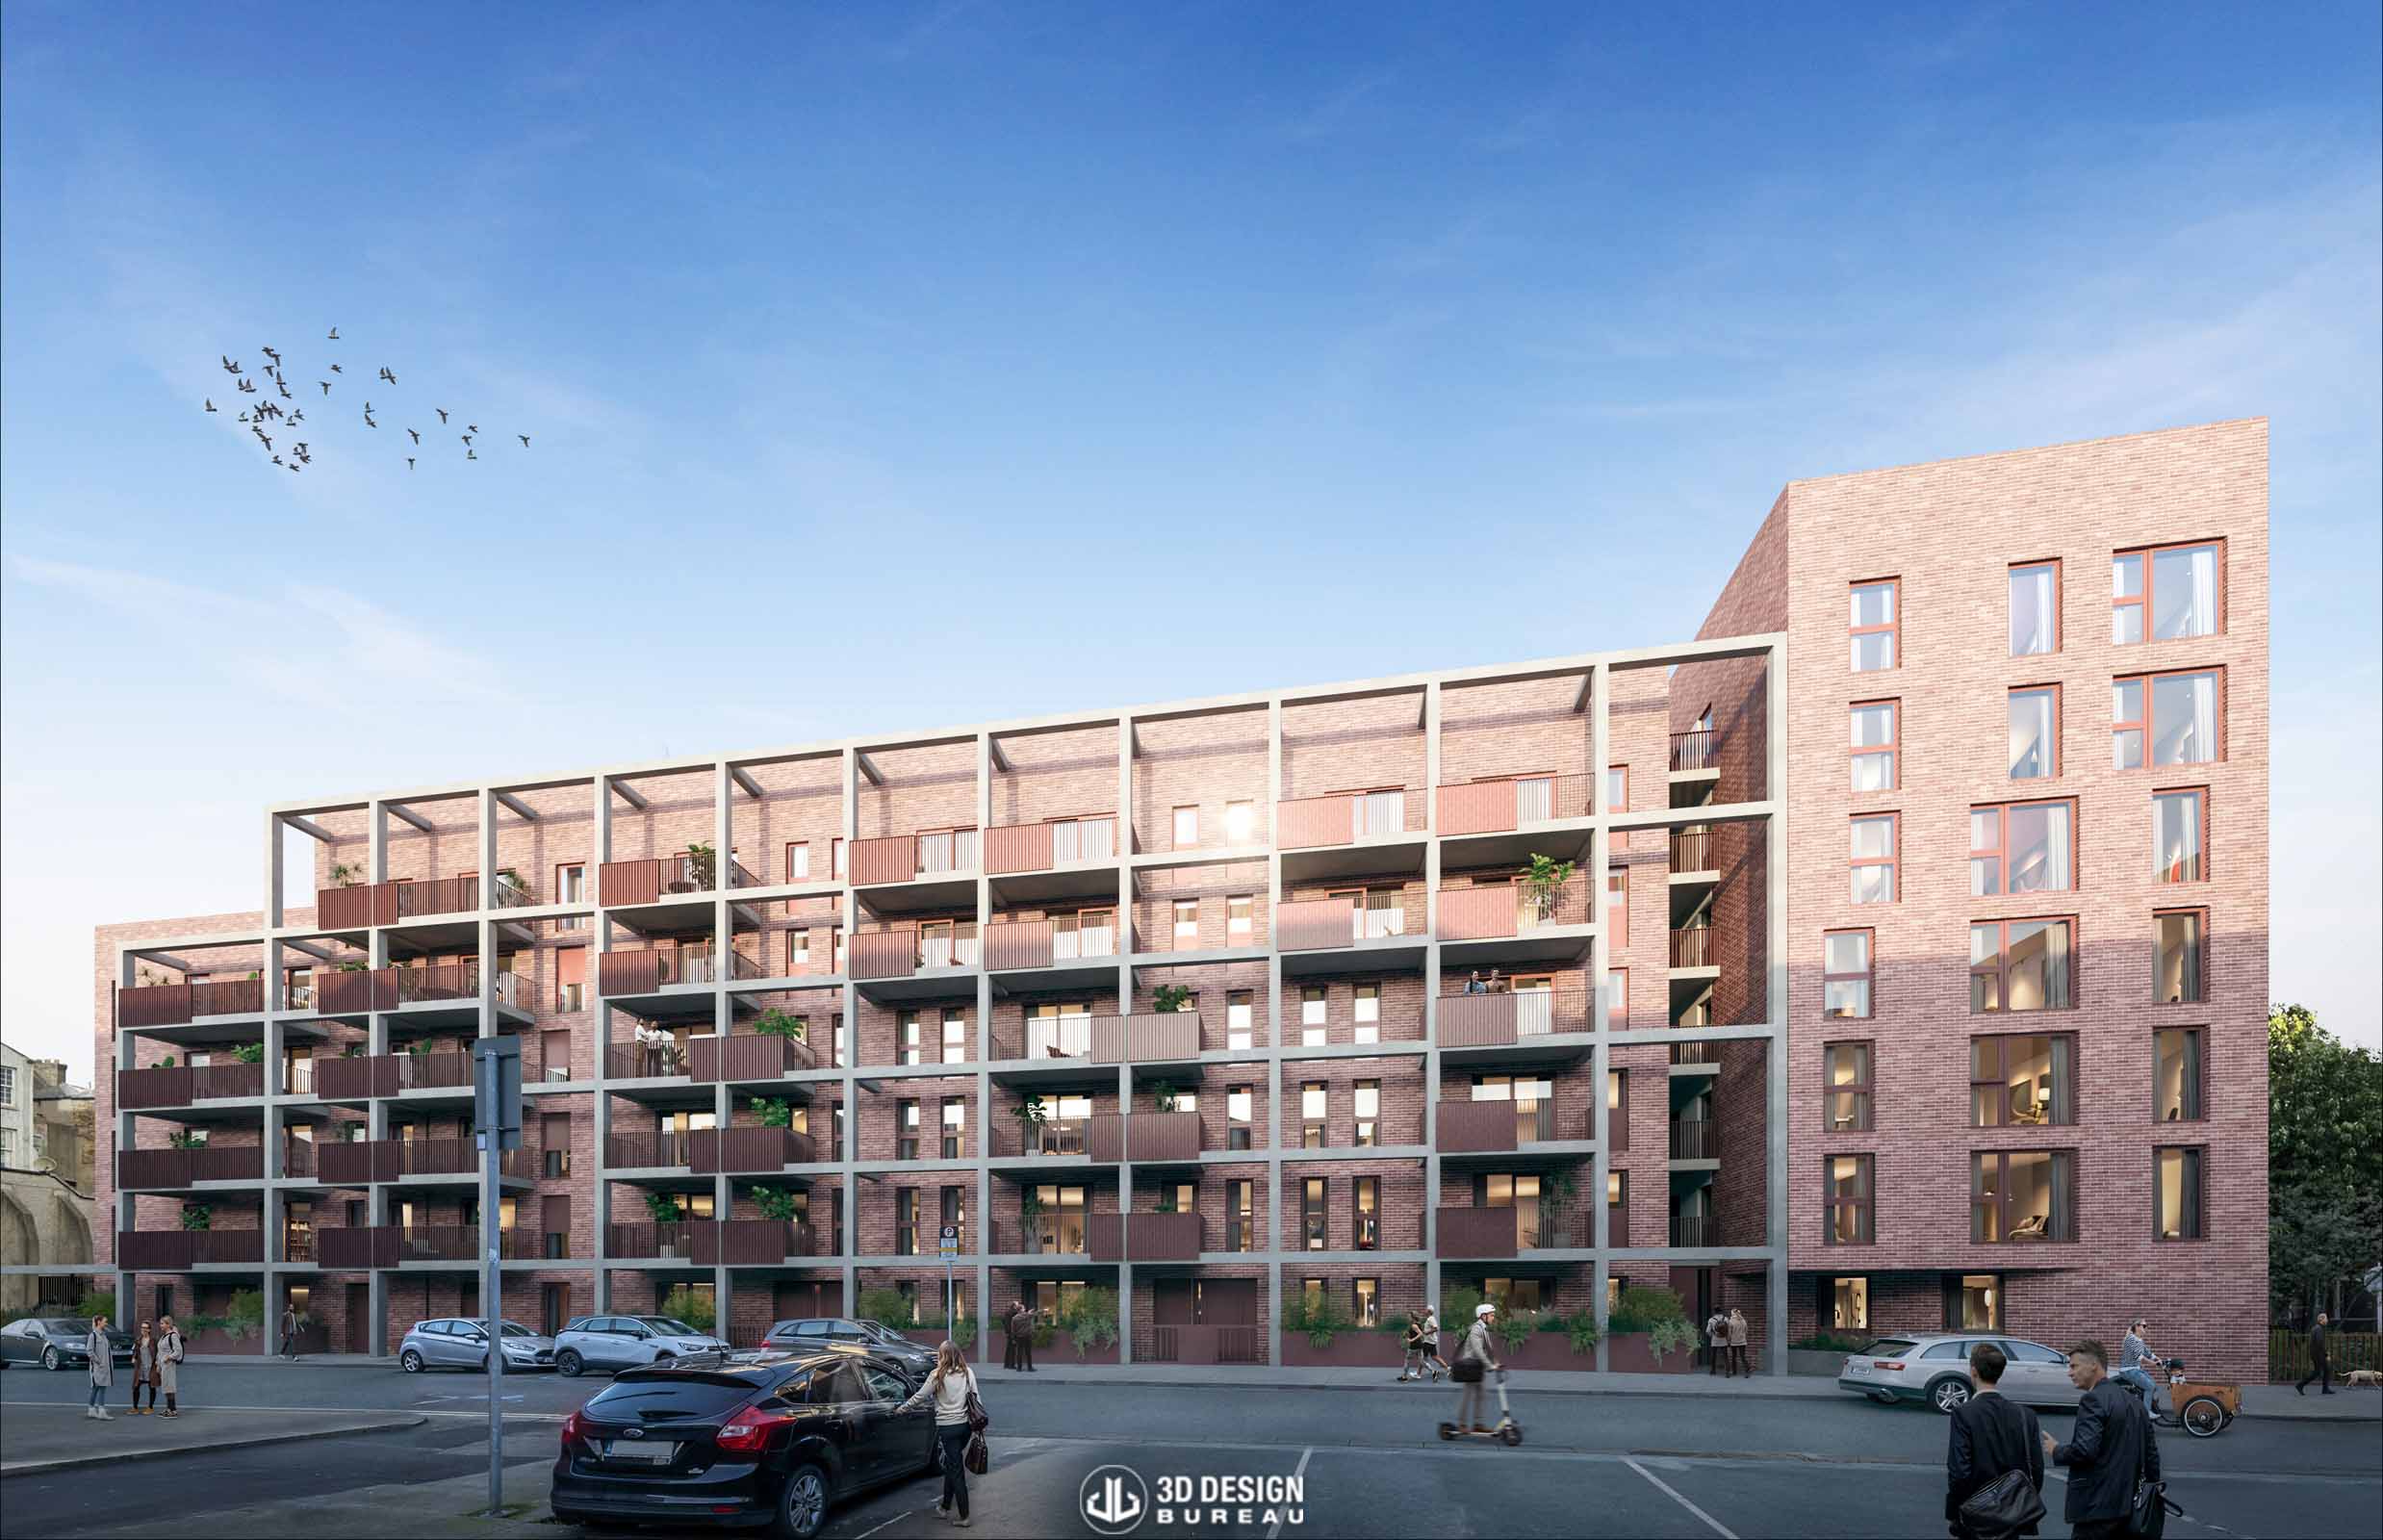
Once rendering is complete, the project enters the post-production phase. Using Adobe Photoshop, our team adjusts lighting, tone, and colour to ensure harmony across all visuals. Skies are replaced, reflections refined, and shadow details enhanced to create realistic depth. Elements such as people, vehicles, and landscaping are carefully integrated to bring the scene to life and convey the true character of the development.
 View
View
Every adjustment ensures that each visual accurately represents how the finished scheme will look and feel, essential in transforming technical renders into imagery that informs and engages.
Project Timelines and Workflow Variations
A visualisation project will generally fall into one of two timeline categories: two to four weeks or four to six weeks, depending on the scale of the development, the requirements of planning authorities and design consultants, and the sensitivity of the site. These timeframes are always influenced by the receipt of well-advanced or frozen design information and by timely feedback from draft imagery issued during the project.
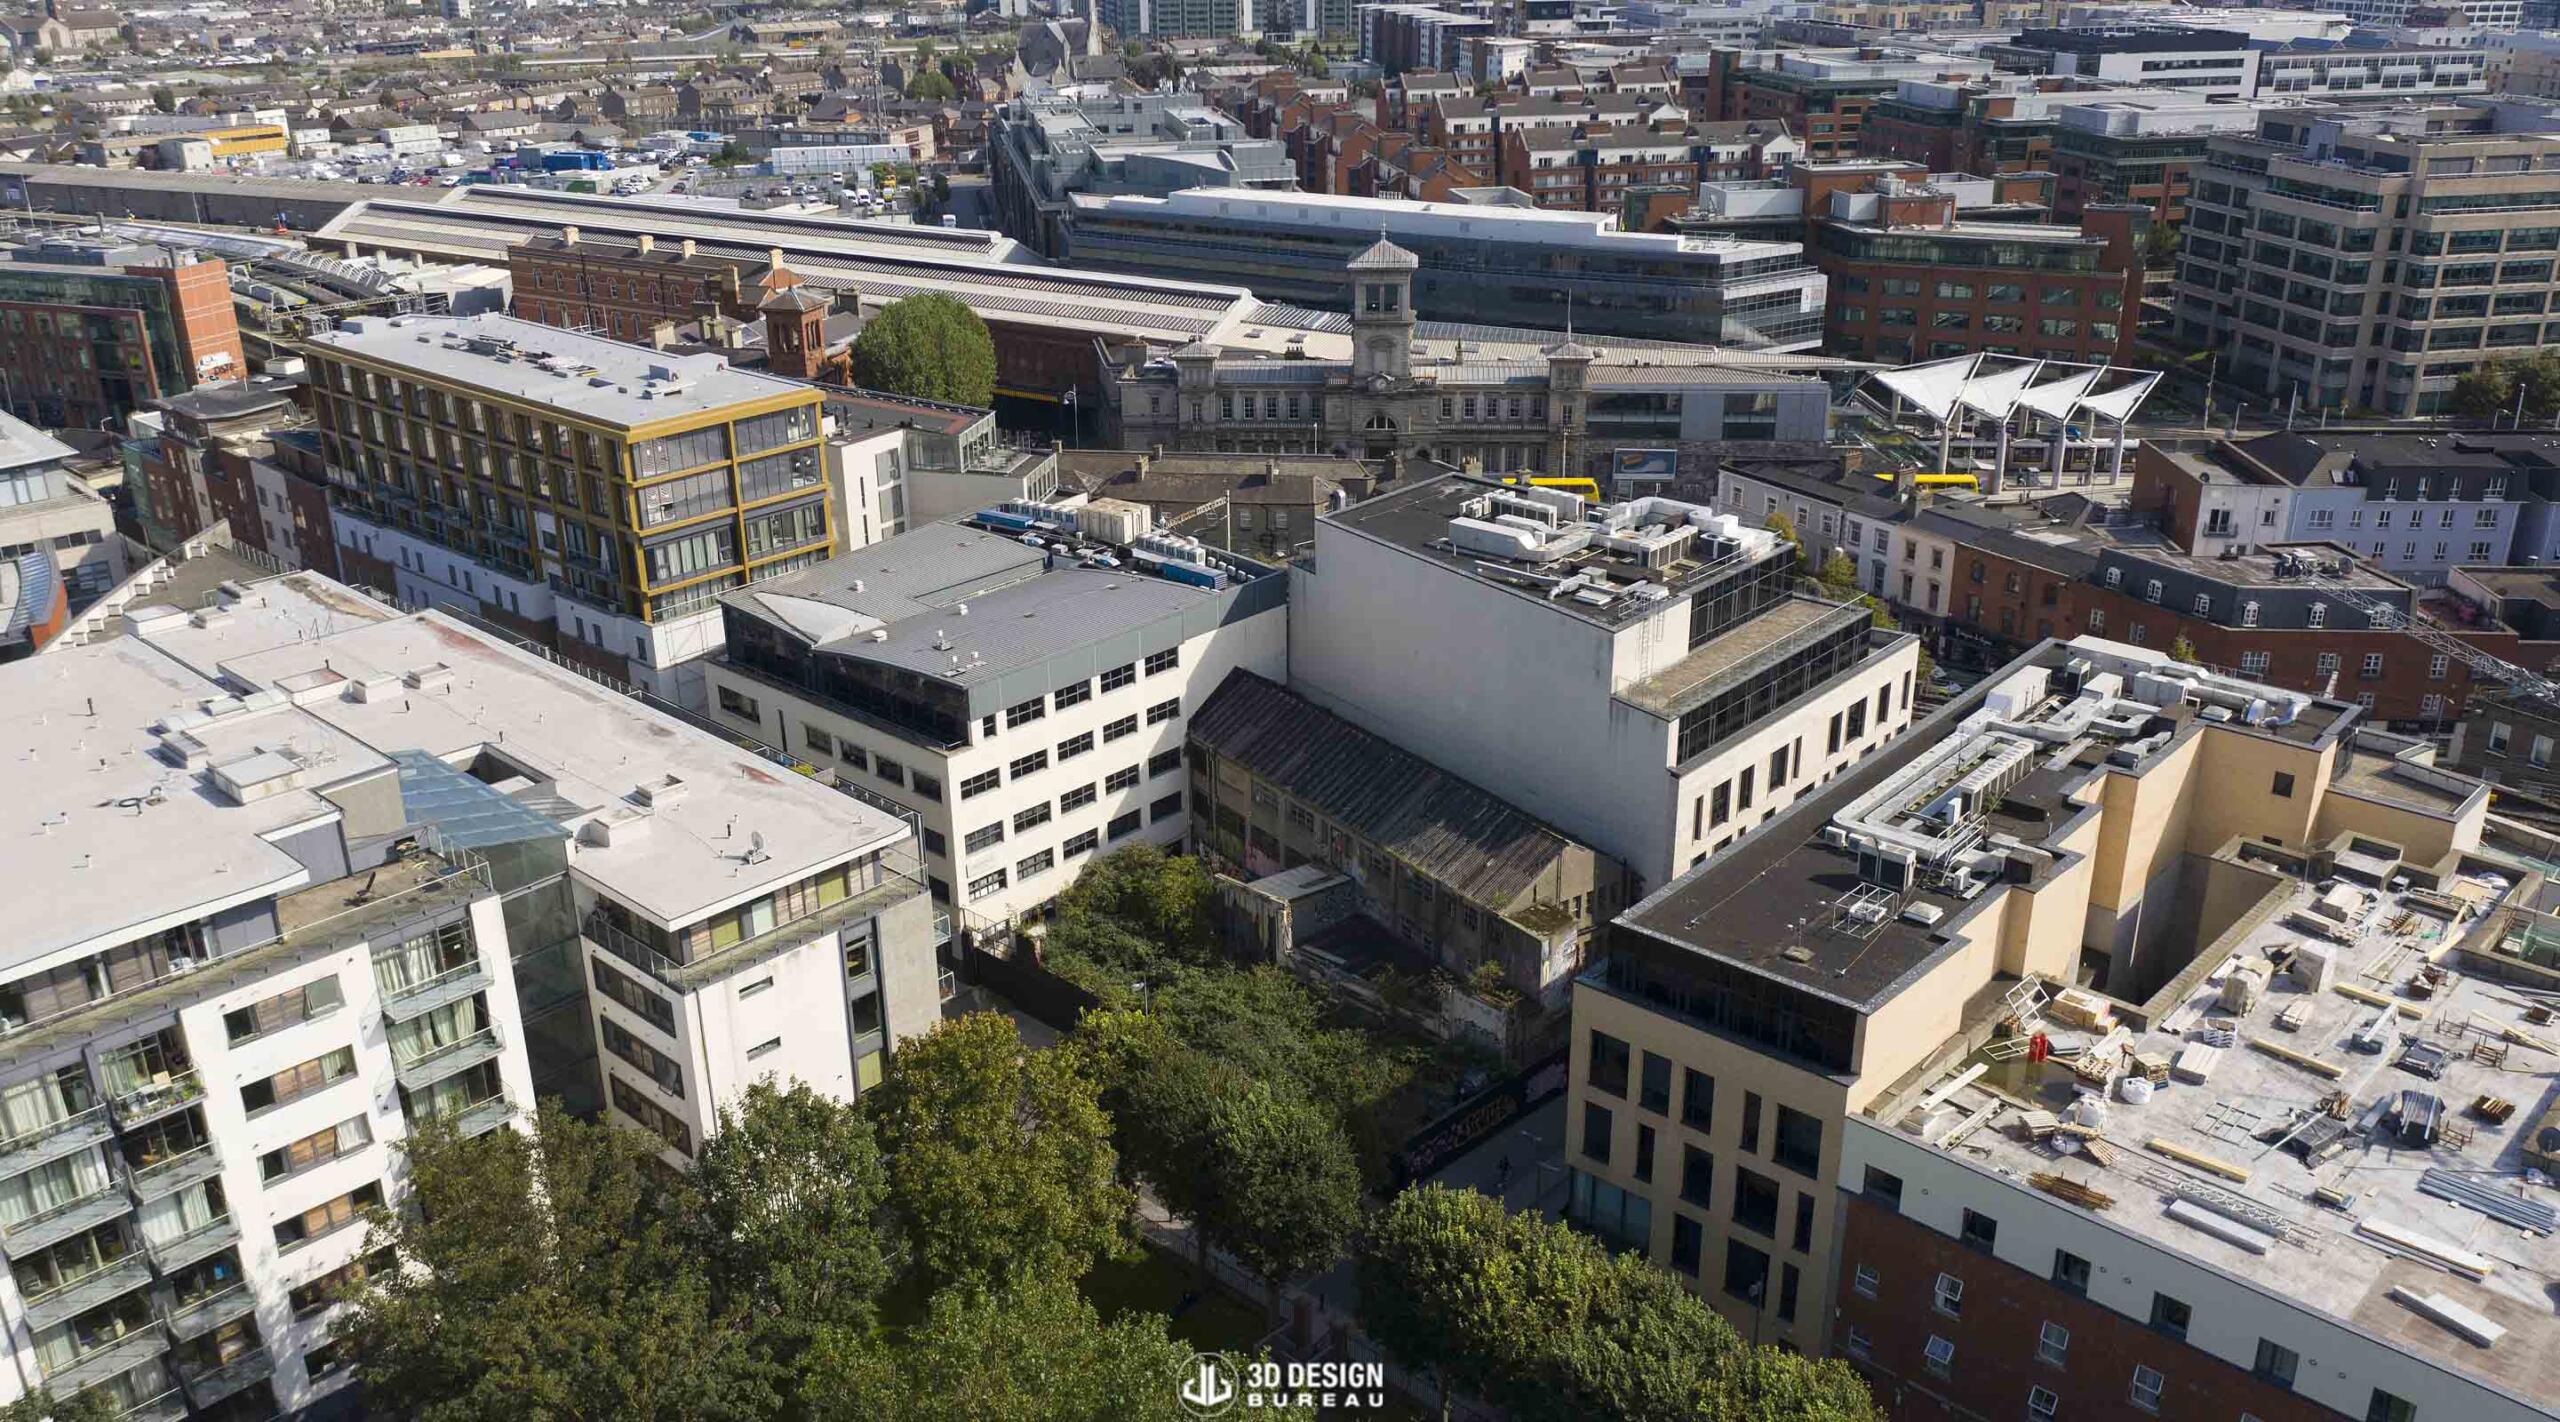
While the workflow outlined above applies to most architectural visualisation projects, certain solutions, such as verified view montages, presentation montages, and aerial montages, also involve site photography. This includes either eye-level or aerial drone imagery. Using data collected during the baseline photographic survey, including camera coordinates, viewing angles, and direction of view, our team can accurately position the 3D model within its real-world context. Each of these solutions, particularly verified view montages where precision is non-negotiable, follows a comprehensive methodology, although modelling, visualisation, and post-production remain integral parts of the process.
Project Reference: Malahide Road Development
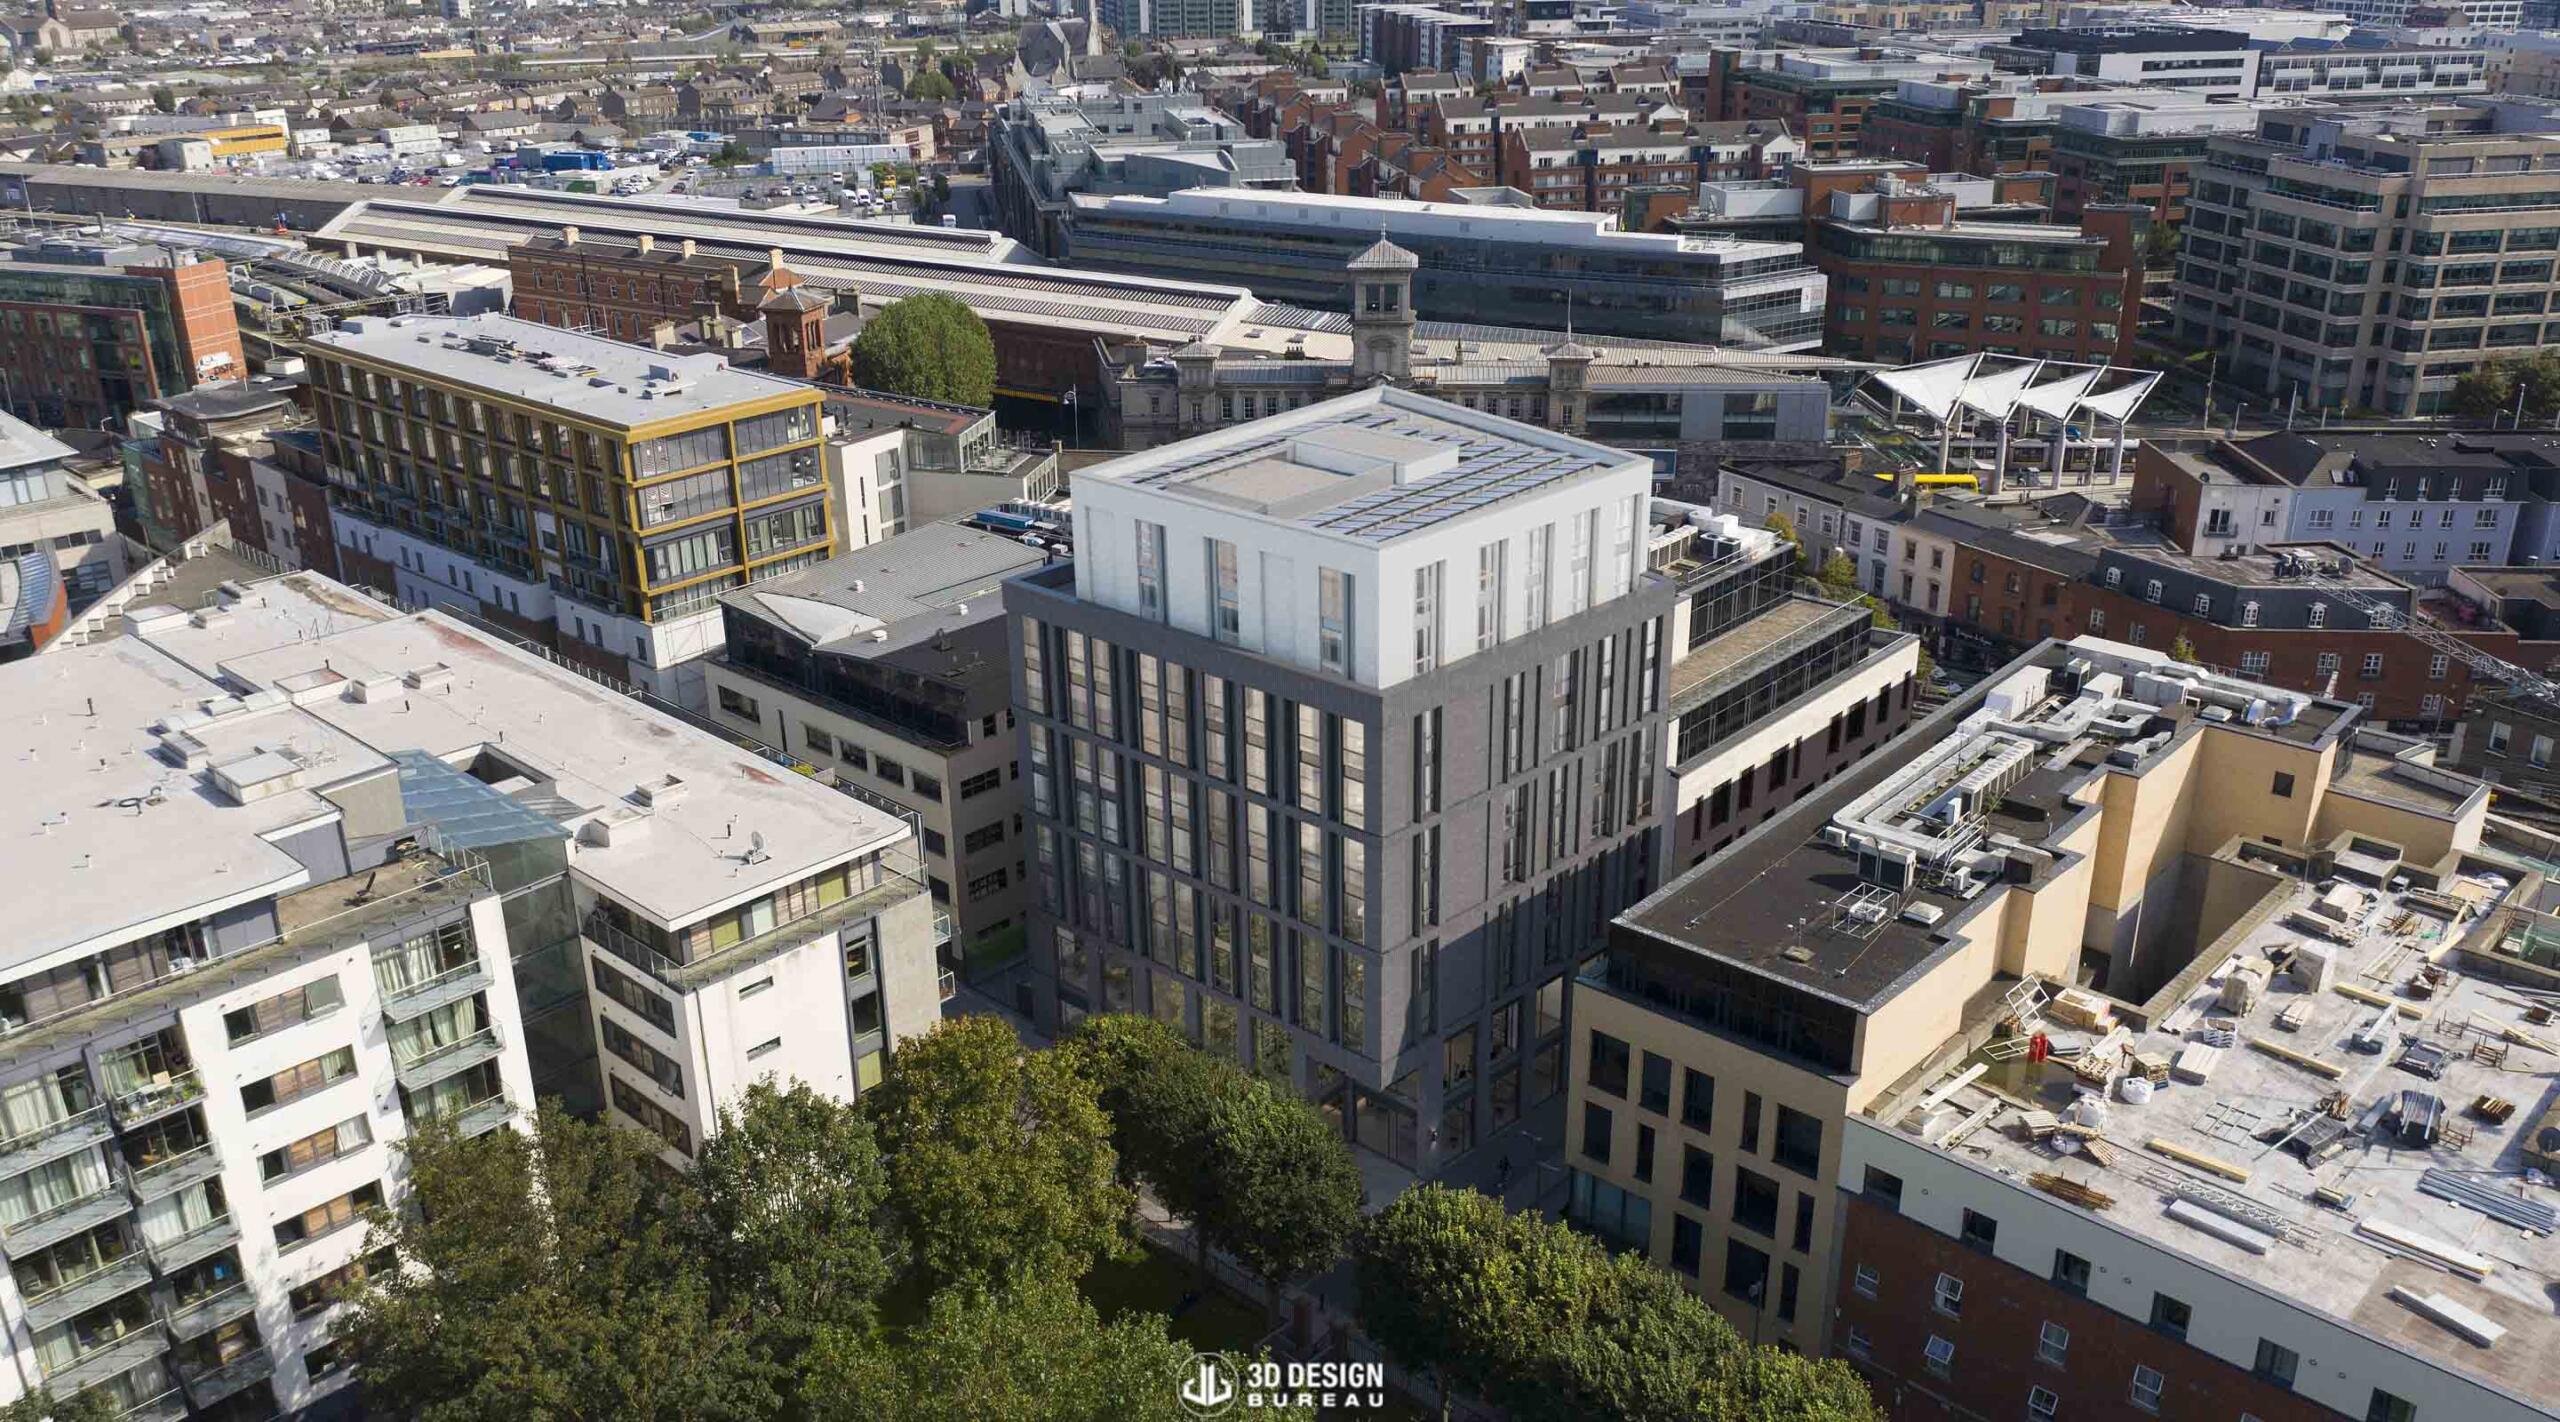
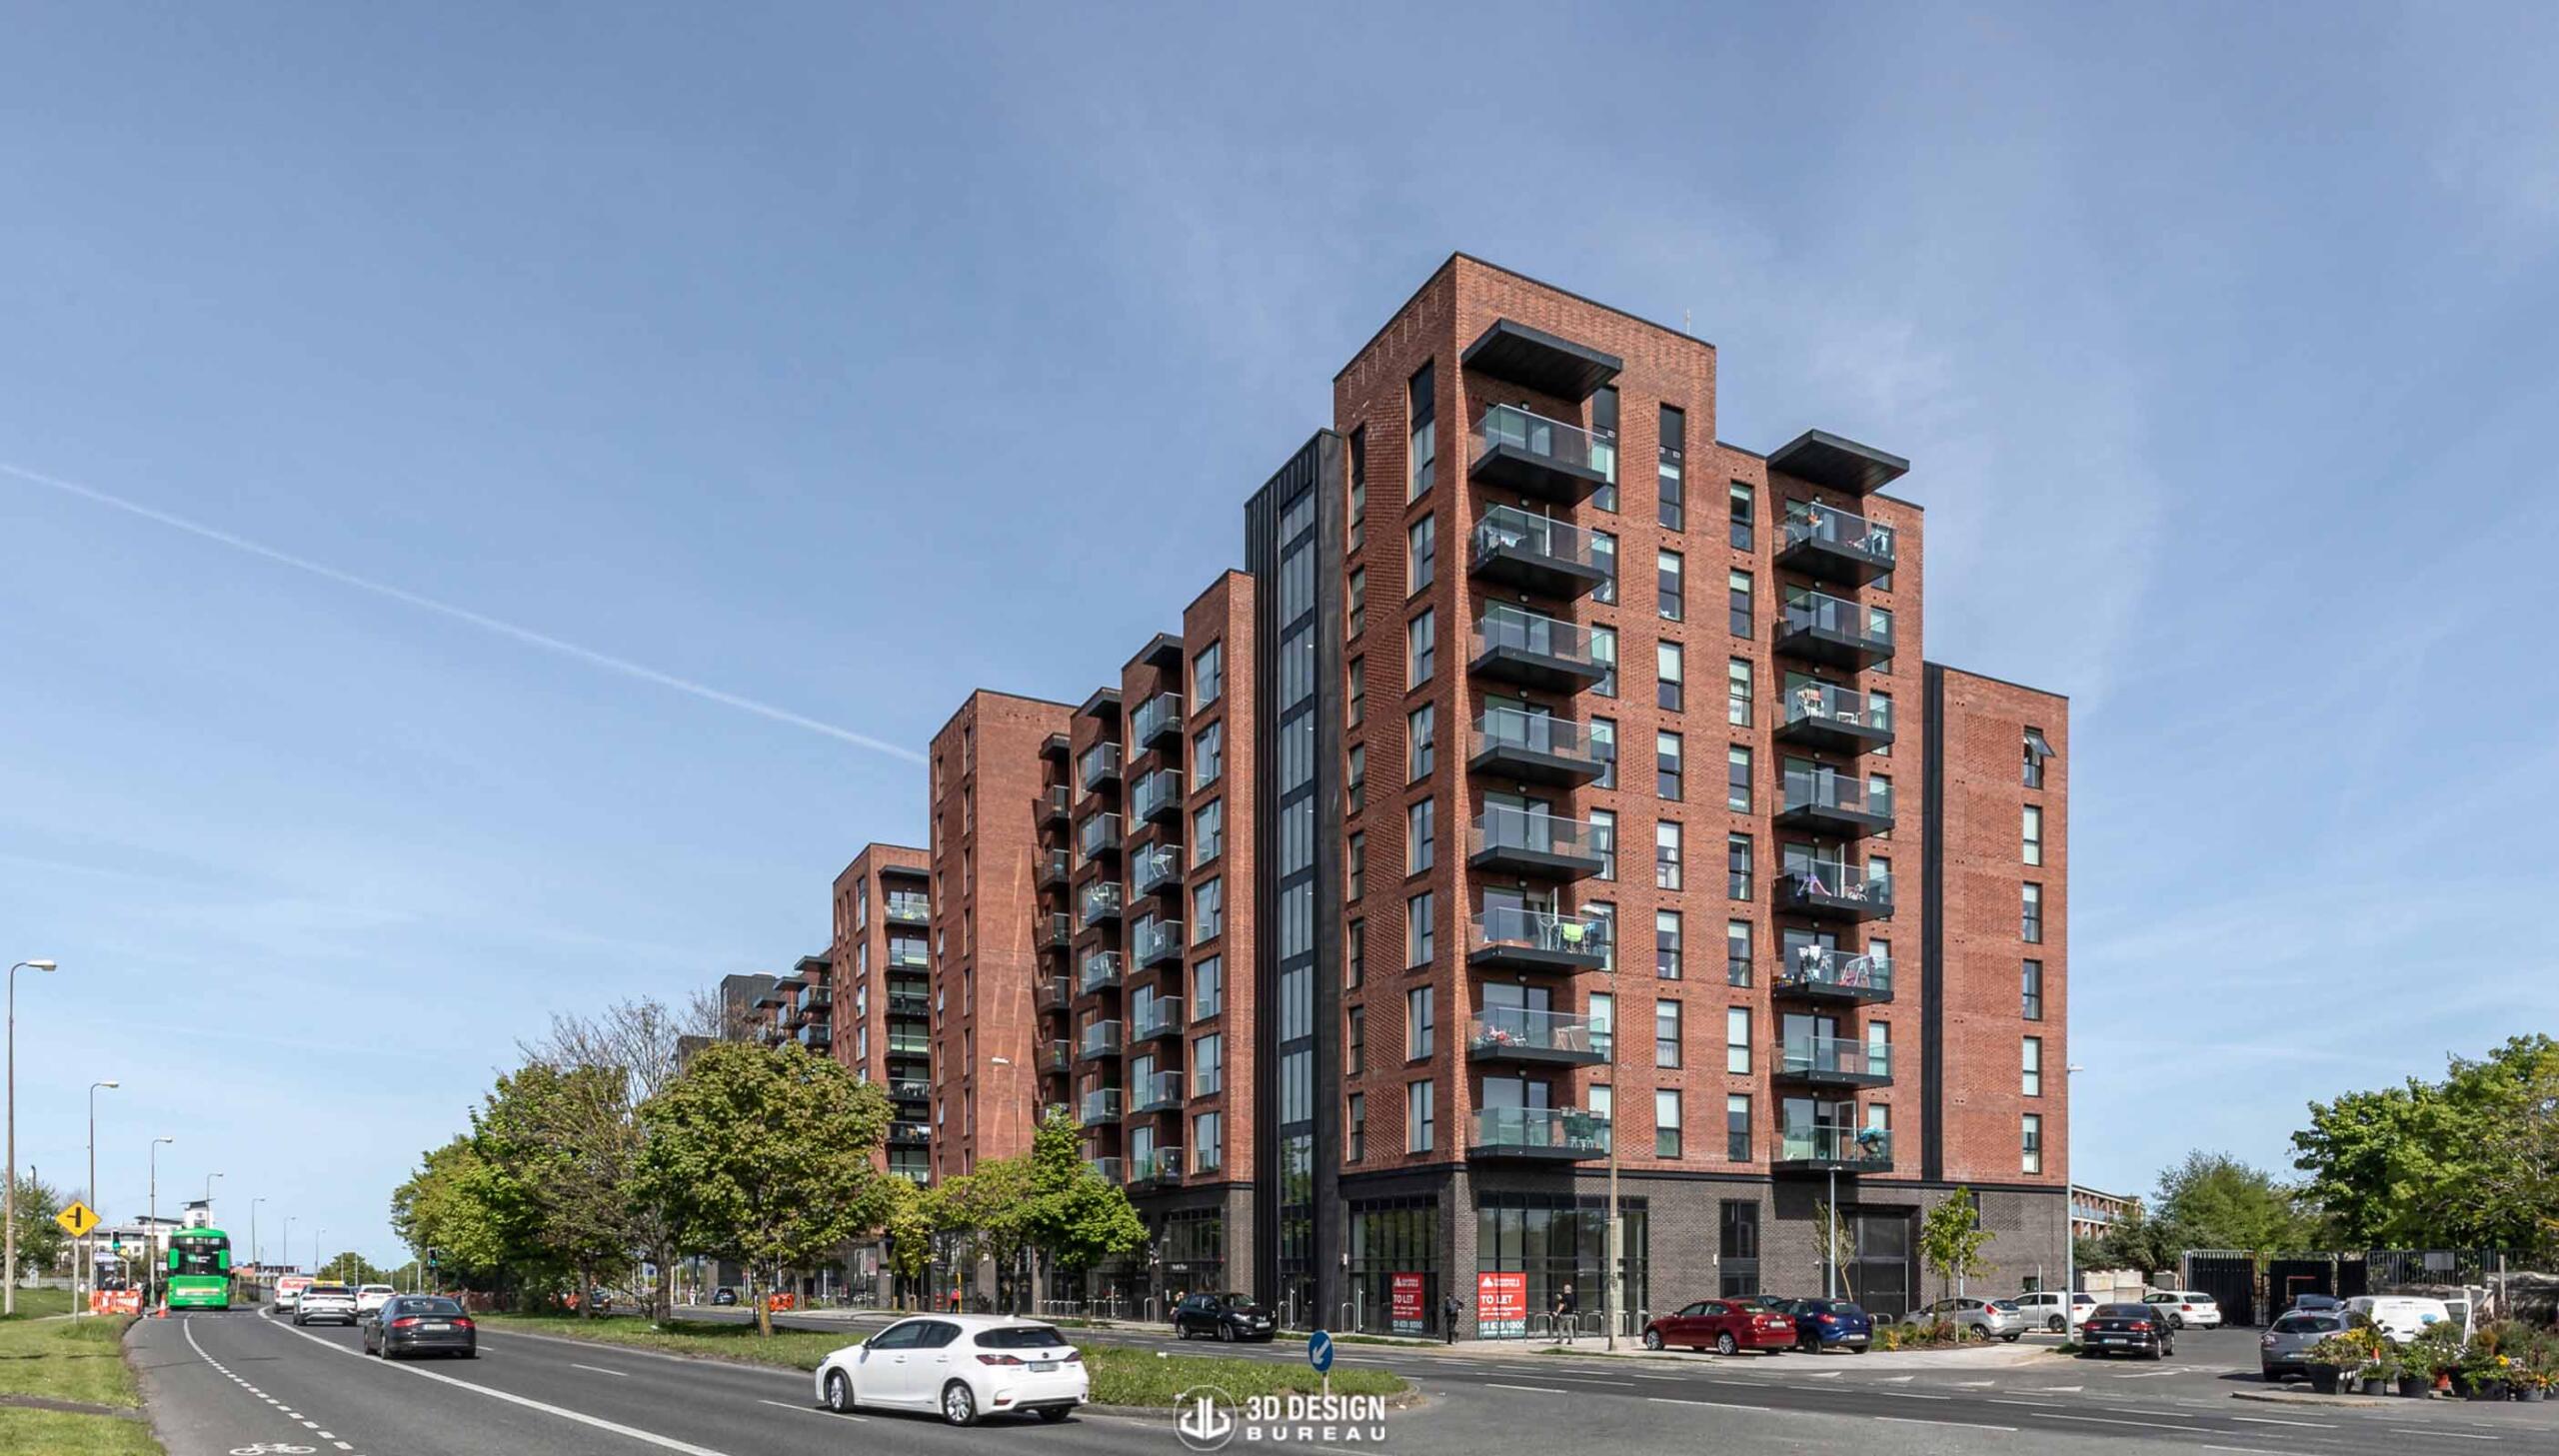
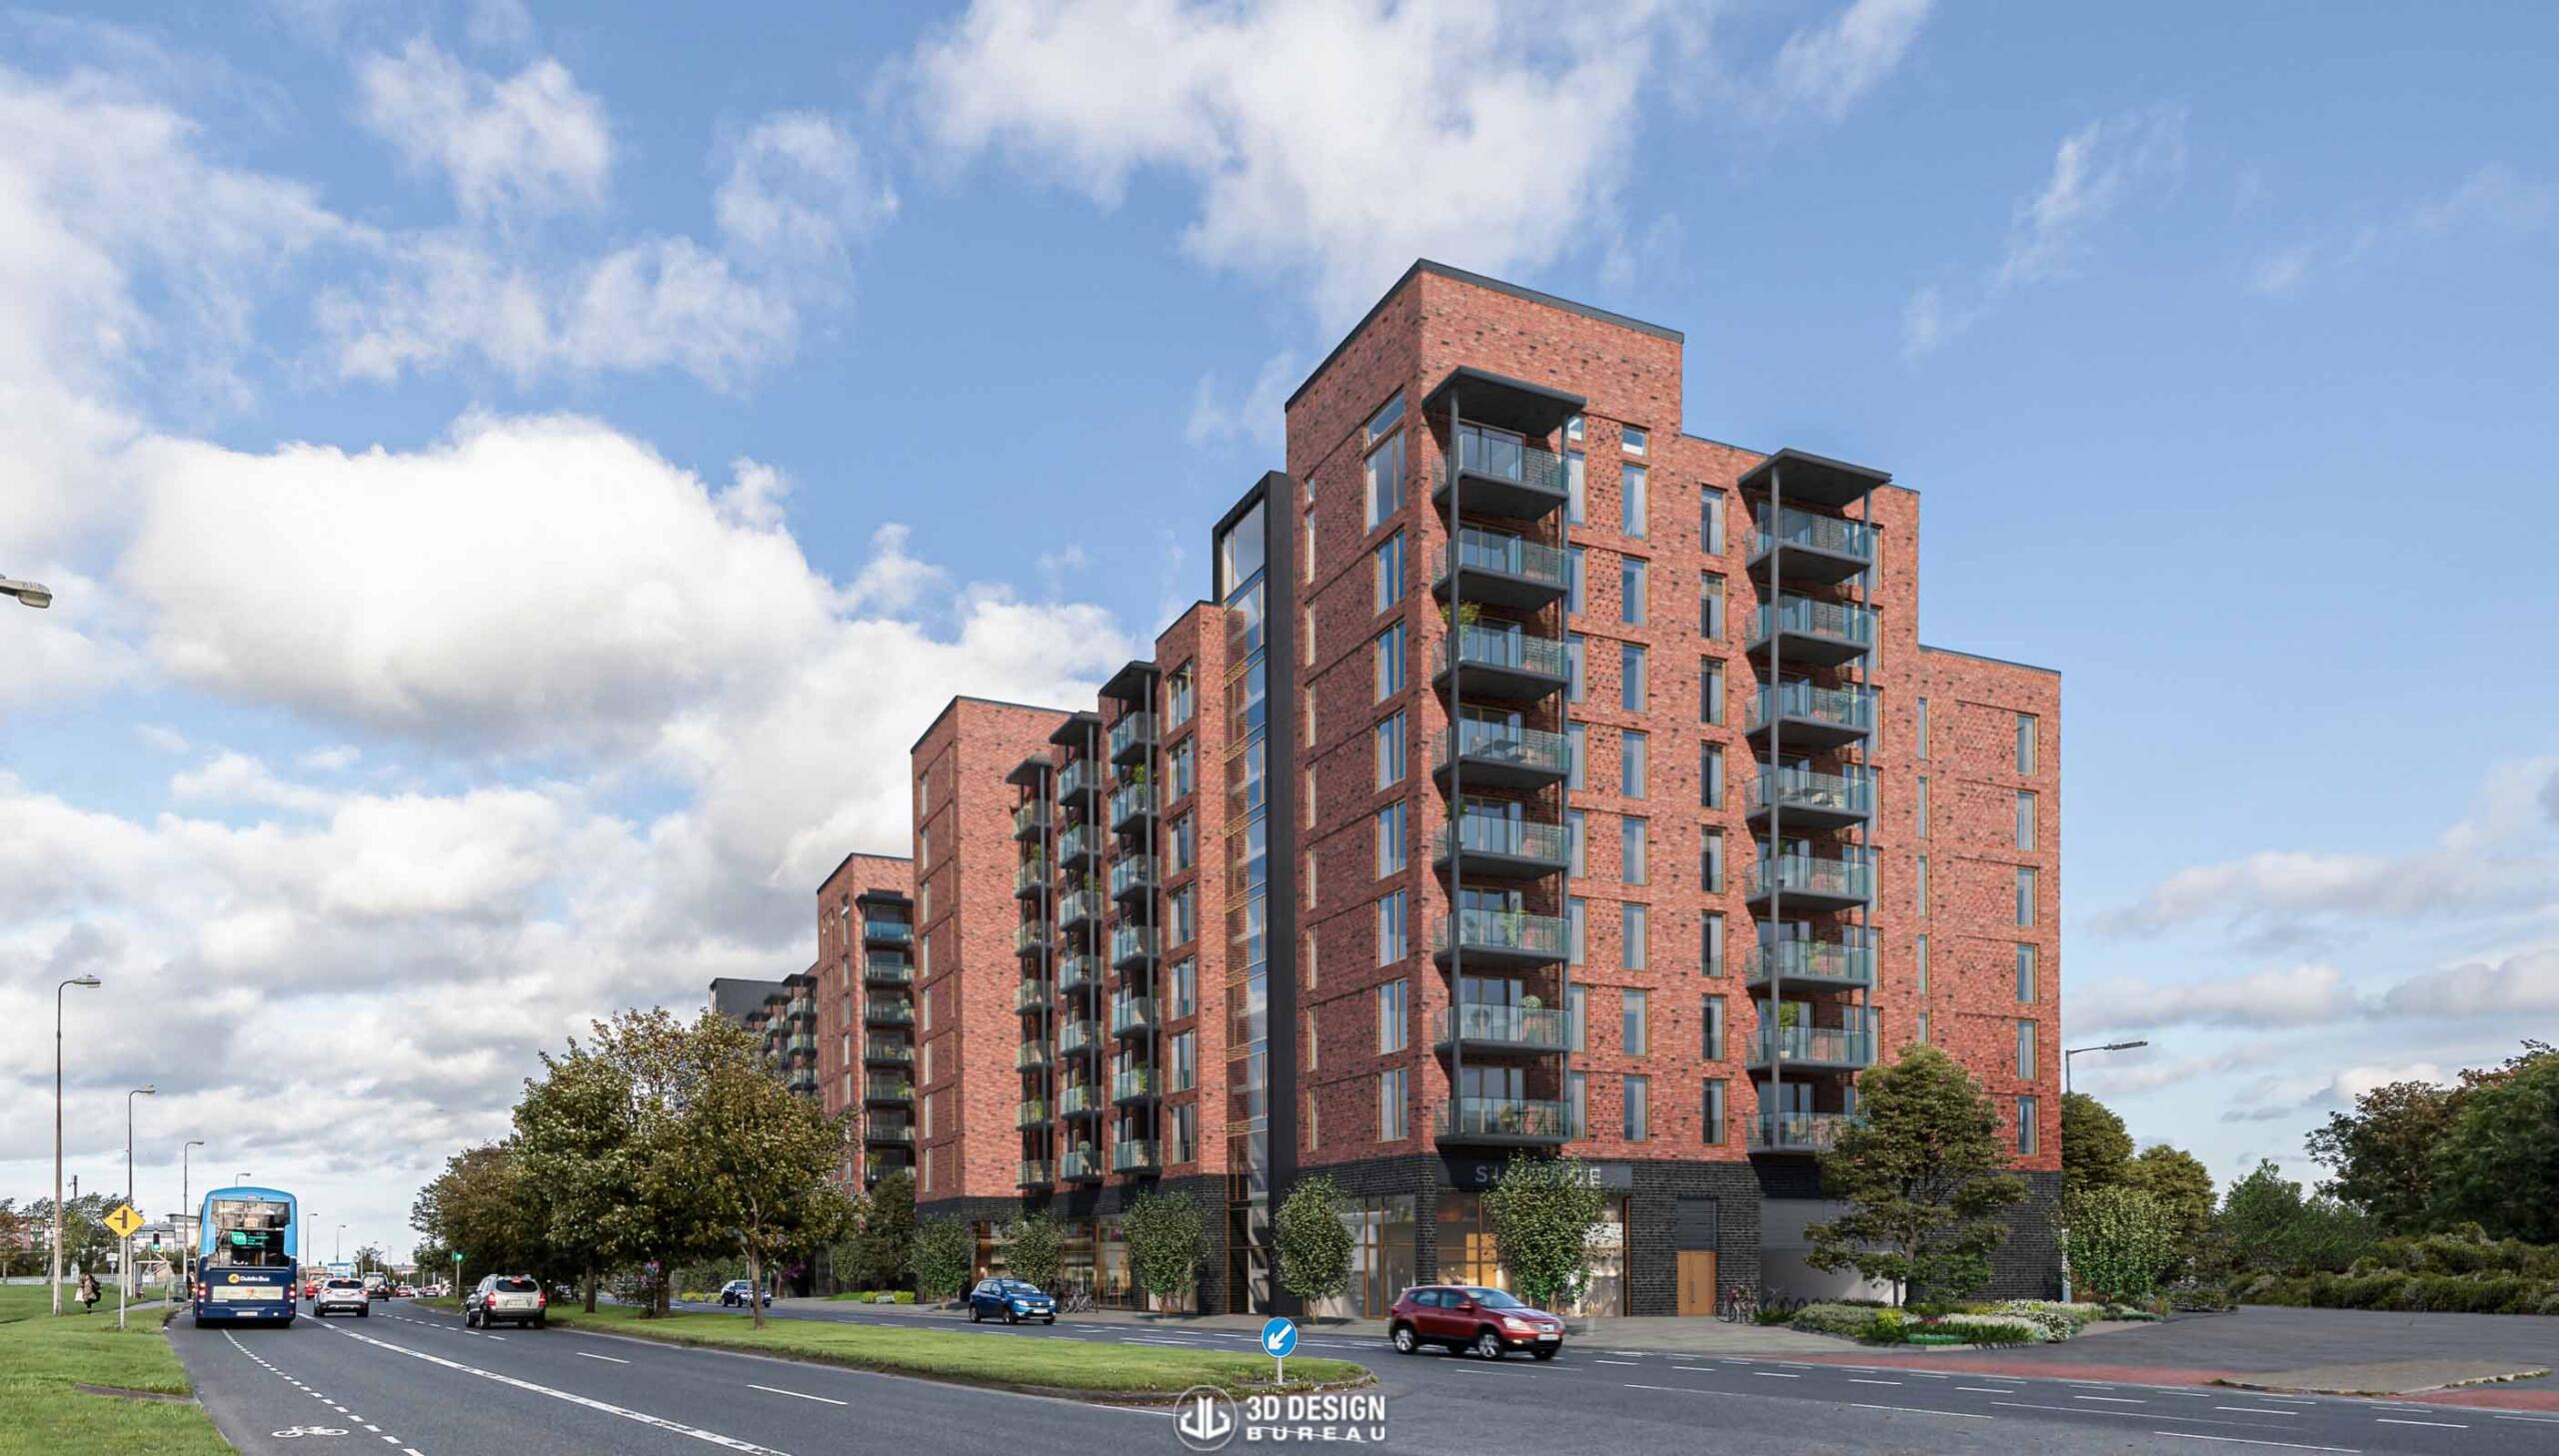
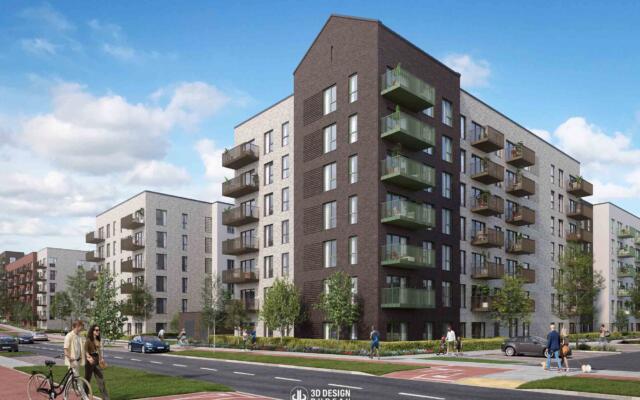
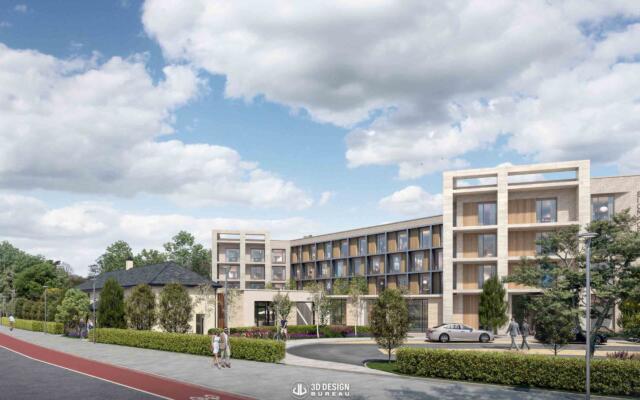
A strong example of our architectural visualisation expertise can be seen in the recently completed 331-unit residential development on Malahide Road. During the planning process, our team delivered a full suite of planning visualisation solutions, including detailed architectural CGIs, presentation photomontages, verified view montages and a comprehensive daylight and sunlight assessment.
Now that the scheme is complete, the comparison between the visuals and the built project is particularly close. This demonstrates how the workflow, when followed consistently, can accurately represent a development from early design through to construction completion. It also shows how reliable visuals can support informed decision-making at every stage.
Author:
Lucas Imbimbo
Digital Marketing Specialist
at 3D Design Bureau
lucas@3ddesighbureau.com